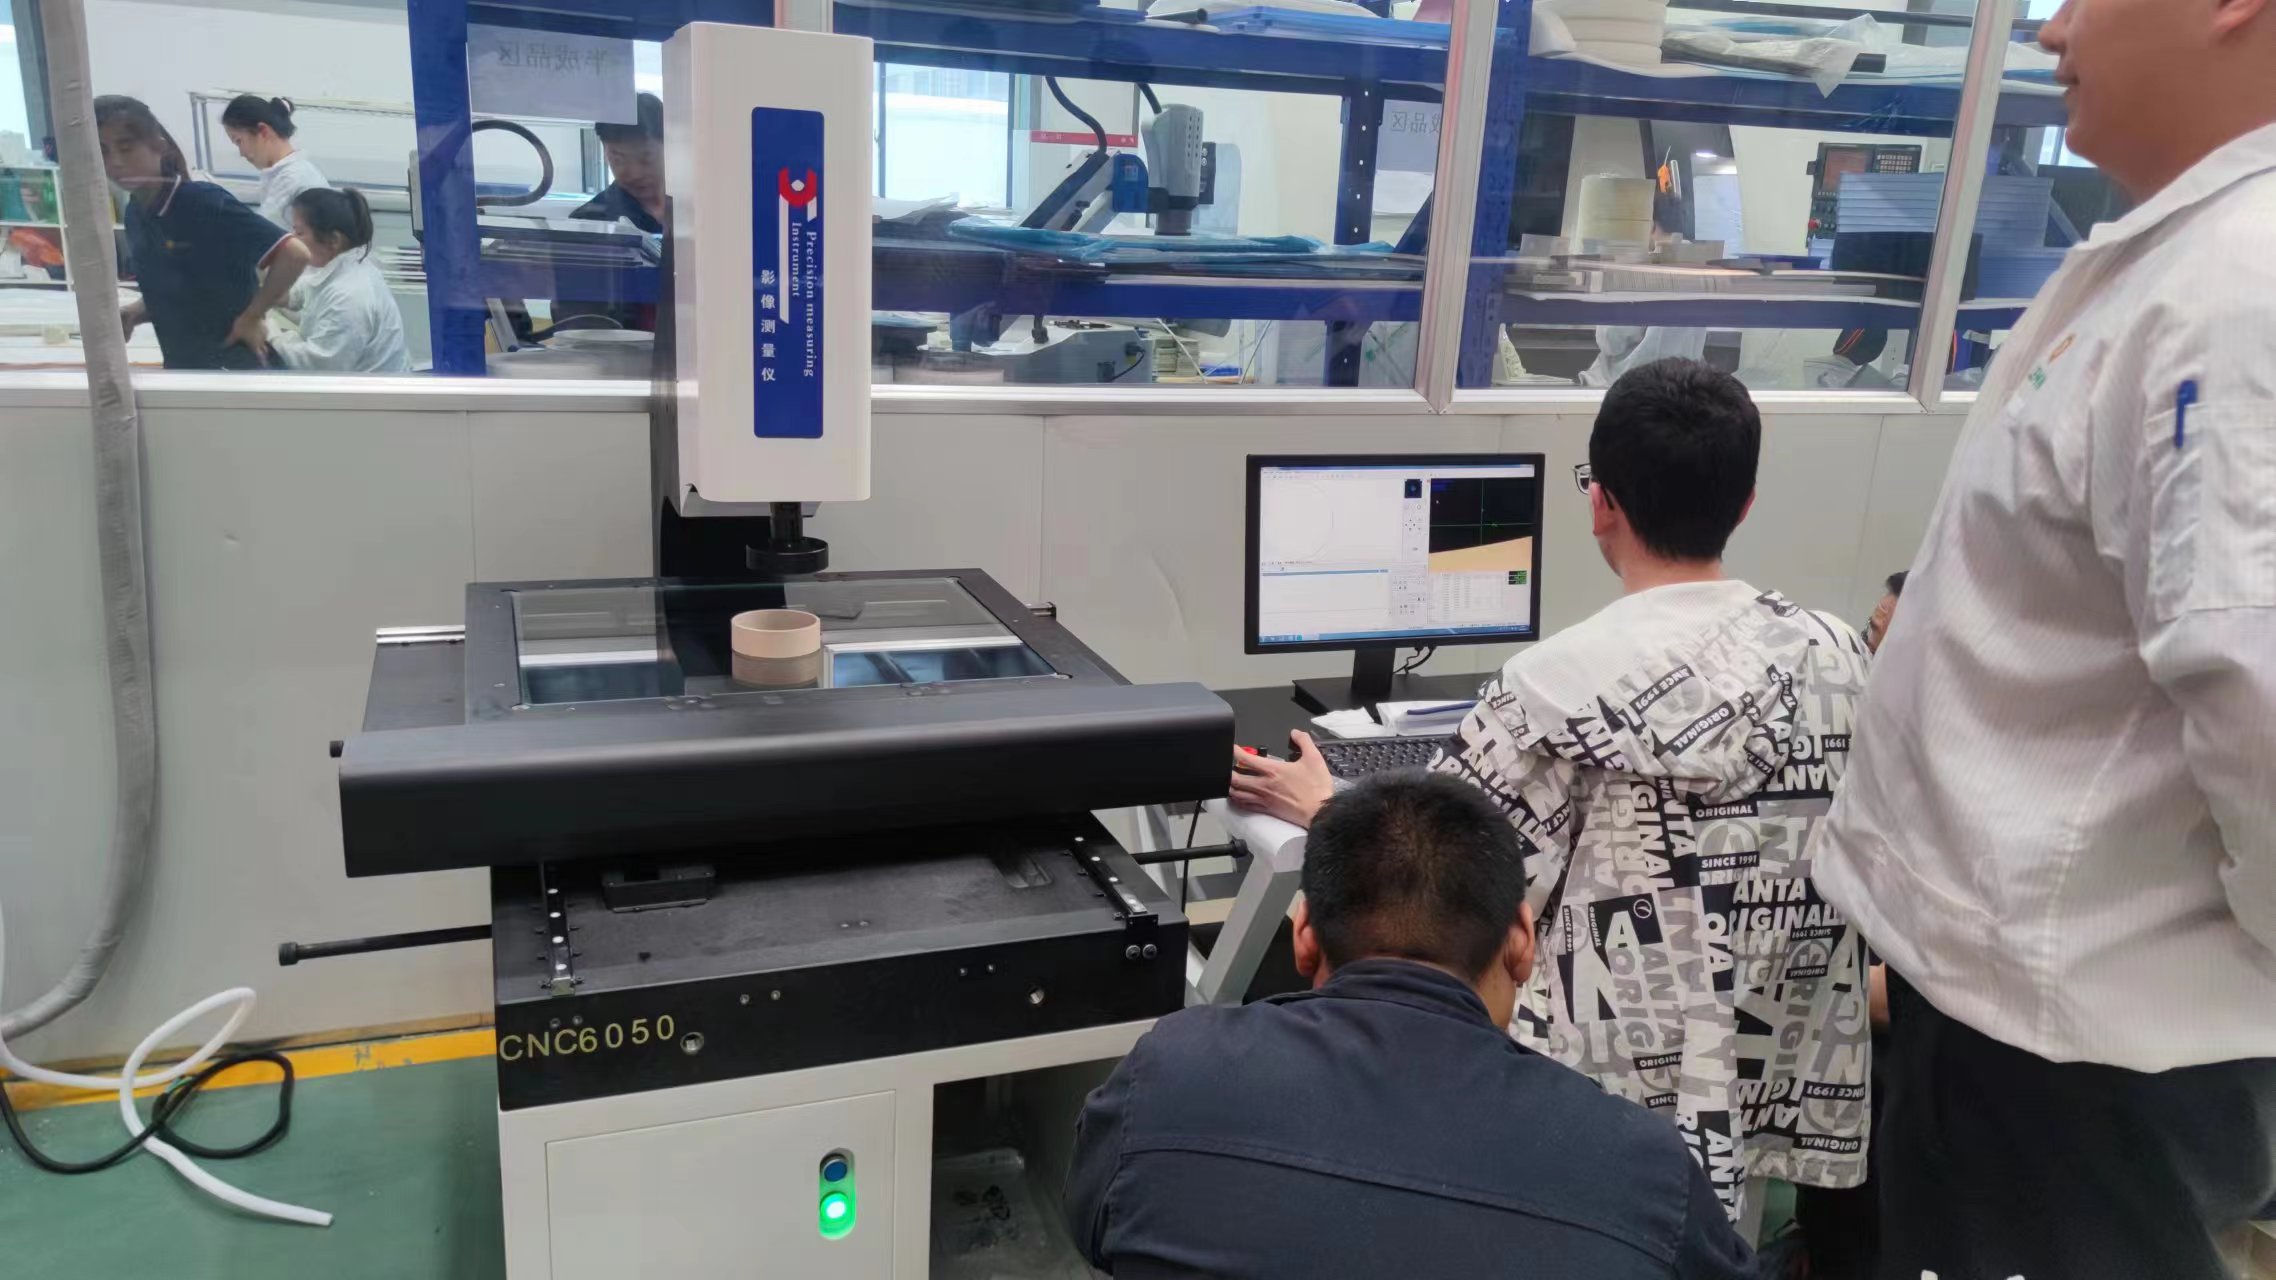
Tips for using a fully automatic video measuring instrument
2025-01-22 11:09:59Tip 1: Small deviation of regression line
In the process of measuring the angle radian of a product, there is often a repetition of poor accuracy. One person uses the same method, but the error reaches 0.5 degrees, which is a common occurrence.
In many image measurement software nowadays, line collection defaults to two points. For parts with good regularity and straightness, there is not much error in angle measurement. However, for parts with poor straightness and many burrs, the method of collecting lines from two points brings great error, and the repeatability is also poor. The angle formed by such lines, the repeatability of multiple measurements, is definitely not ideal
If we use the method of multi-point search and regression to determine the two sides of the angle, the obtained line will be closer to the actual edge line of the measured workpiece, and the deviation will be reduced. At the same time, the measurement error will also be greatly reduced, and the repeatability will also be greatly improved.
Tip 2: Try to collect straight lines as long as possible
Video measuring instruments, due to limited screen display and high magnification (usually ranging from 0.7 to 4.5, 28X to 180X), have a workpiece size of only a few millimeters in the screen display section. Many measuring personnel are accustomed to only collecting point and line elements on the screen display section during testing. If there is a deviation in the collected points, the shorter the line segment, the greater the deviation in the measured angle value. The longer the line segment, the smaller the deviation in the angle value measured by the Semi-automatic Video Measuring Instrument. The theoretical angle is 30 degrees, and the deviation of the sampling point is 0.25mm. We can clearly see the impact of the length of the line segment on the measured value.
So when measuring the angle, the gantry video Measuring Instrument should try to capture the lines on both sides of the angle as long as possible. If the screen display range is too small, the workbench can be moved to take a point near the starting position of the straight line where the angle is located, and then a point at the ending position. This will greatly reduce the measured angle error.
Angle measurement technique three: maximize magnification
Many mechanical parts have very short edge lines for measured angles, ranging from 2mm to 3mm, for example, chamfering of shaft parts. If we still use a lens range of 0.7 or 1 for point measurement, the imaging of the workpiece will only be between 48mm and 120mm, and the deviation of the point measurement will have a significant impact on the measurement value. If we switch to a magnification of 3 or 4, the imaging of the workpiece can reach 240mm~480mm, making it easier to observe the true situation of the image edges of the automatic video measuring instrument, and the sampling point deviation will be minimized. However, this method also brings a lot of inconvenience, as the graphics are too large and the display window can only display a small part. However, for skilled inspectors and quality control personnel who pursue high precision, these should not be a problem.


