Application scenario of image measuring instrument -- large field measurement of micro parts
2025-01-21 17:51:47
Micromachined parts are Z's need to measure the size. It is important to know the effective method to solve the specific measurement application Z. The Application Scenarios of Measuring Instrument - Large Field of View Measurement of Micro Parts
The parts and characteristics of micro machining pose a challenge to the application of new technologies in parts manufacturing and measurement. The requirements are divided into two categories: small parts can be measured in a single field of view, while larger parts with micro features require high precision and high speed. This paper will carefully study two different measurement systems to meet these different challenges.
Small parts, big challenges
Now everything is smaller except expectation. It is normal for the camera manufacturer to expect this year's new model to be at least 10% smaller, lighter, faster and cheaper. This continuous and stable trend of miniaturization and cost reduction has brought severe challenges to manufacturers. The dimensional tolerance for making micro fine products is stricter, the required tooling and fixtures are more complex, and the inspection accuracy requirements are higher. Inspection and measurement are part of the challenging tasks in the workshop, and new technologies are needed to cope with the micro manufacturing and assembly process.
How small is the micrometer?
There is no single definition of "micro", so there is no single solution to measure "micro" components. Micro parts have a wide range of dimensions and conditions, and process measurement also needs corresponding changes. Generally speaking, we divide tiny measurements into several microns to several millimeters, but even so, considering that the diameter of human hair is about 90 microns, this range is huge.

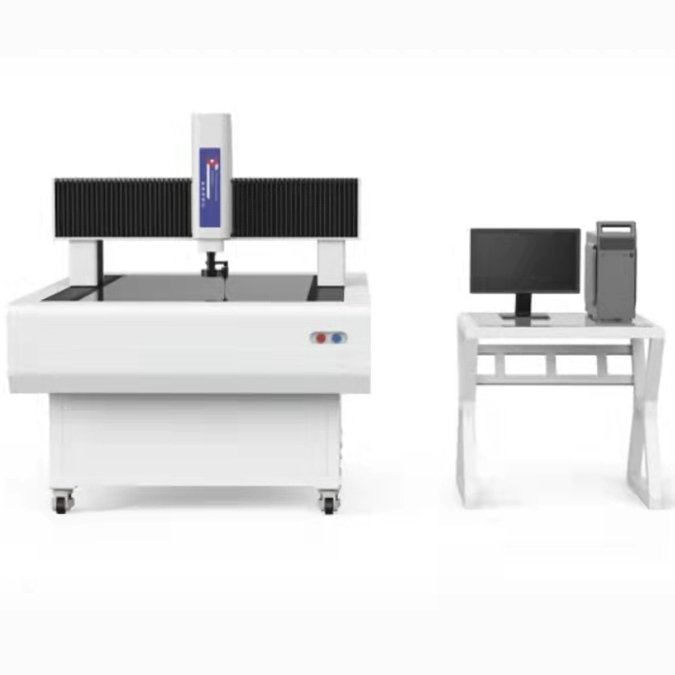
Gantry type image measuring instrument, micro mechanical parts can be small and simple or small and complex. They can be fragile or solid, expensive or disposable. A common feature of micro parts is that they have very strict tolerances, so they need high precision. They are also usually manufactured in large quantities and therefore require high production volumes. The main difference between micro parts is whether the parts need high precision, high speed or ultra-high precision, high speed measurement.
In the final analysis, the selection of measurement technology for micro parts requires that the measurement has sufficient accuracy and speed, so as to give fast enough feedback to the manufacturing process. This choice is not simple, because it is usually expensive to require both accuracy and speed. It is very important to choose the appropriate micro measurement tools, and it is also important to have a choice.
It is often said that the "ideal" measuring system is a device like a microwave oven. You open the door, place a part in it, and press "Measure". A moment later, a comprehensive measurement report pops up.
It is obvious that the manual image measuring instrument misses some operable details in this ideal scene, such as creating a measurement program that meets the requirements of the drawing, establishing a part positioning and reference, and measuring without distorting or damaging the parts to ensure that relevant features can be measured. The concept of magic measurement box is very attractive, and it is getting closer to the realization
An important step on the road to an ideal measurement system is the creation of new digital measurement equipment, also known as a super large field of view measurement system. This kind of measuring equipment with digital, megapixel sequential and advanced image processing technology has become more and more accurate and suitable for the measurement of small parts.


